Embedded Video Management Suite SDK
The Embedded Video Management Suite SDK enables you to embed editable media assets directly into your application or admin interface. This allows real-time interaction with video content, such as adding chapters, setting thumbnails, editing call-to-action, or invoking custom modules — all within your own web environment.
The SDK is also used in Cincopa plugins for headless CMSs like Sanity and Strapi, where it is already initialized and configured. In these environments, users can access editing capabilities without any manual setup.
This allows content editors to modify video metadata such as chapters or call-to-action directly within the studio, without leaving the editing interface or switching tools.
Let's get started🚀
How to Load Editor
Instead of loading the editor inline with the video player, you can activate the editor on demand using the cincopa.loadEditor() method.
Required Script
To use Cincopa's editor functionality, you must first include the Cincopa JavaScript SDK in your HTML. This script loads the necessary methods, including loadEditor, which is used to manually activate the editor. It should be included before any calls to Cincopa functions.
<!-- Load Cincopa Async Script -->
<script src="https://rtcdn.cincopa.com/libasync.js" type="text/javascript"></script>
Trigger Element
Add a clickable element (e.g., a button or hyperlink) that will be used to manually activate the editor. When this element is clicked, it will call a function that launches the editor.
<!-- Open Editor Button -->
<a id="open_editor" href="#" onclick="open_editor()">Open Editor</a>
Editor Initialization Script
This function should be defined in your JavaScript and will be executed when the trigger element is clicked. This function sets up the required editor configuration, including the asset ID (rid), the list of modules to enable, and the temporary token for authentication.
function open_editor(){
    let editor = {
        rid: "asset_rid",
        load_modules:[
            {name: "extras"},
            {name: "video-analytics"},
            {name: "multiple-audio"},
        ],
        token: "Token"
    };
    cincopa.loadEditor(editor);
}
✅ Final Result
The Cincopa editor will open with the specified modules active.
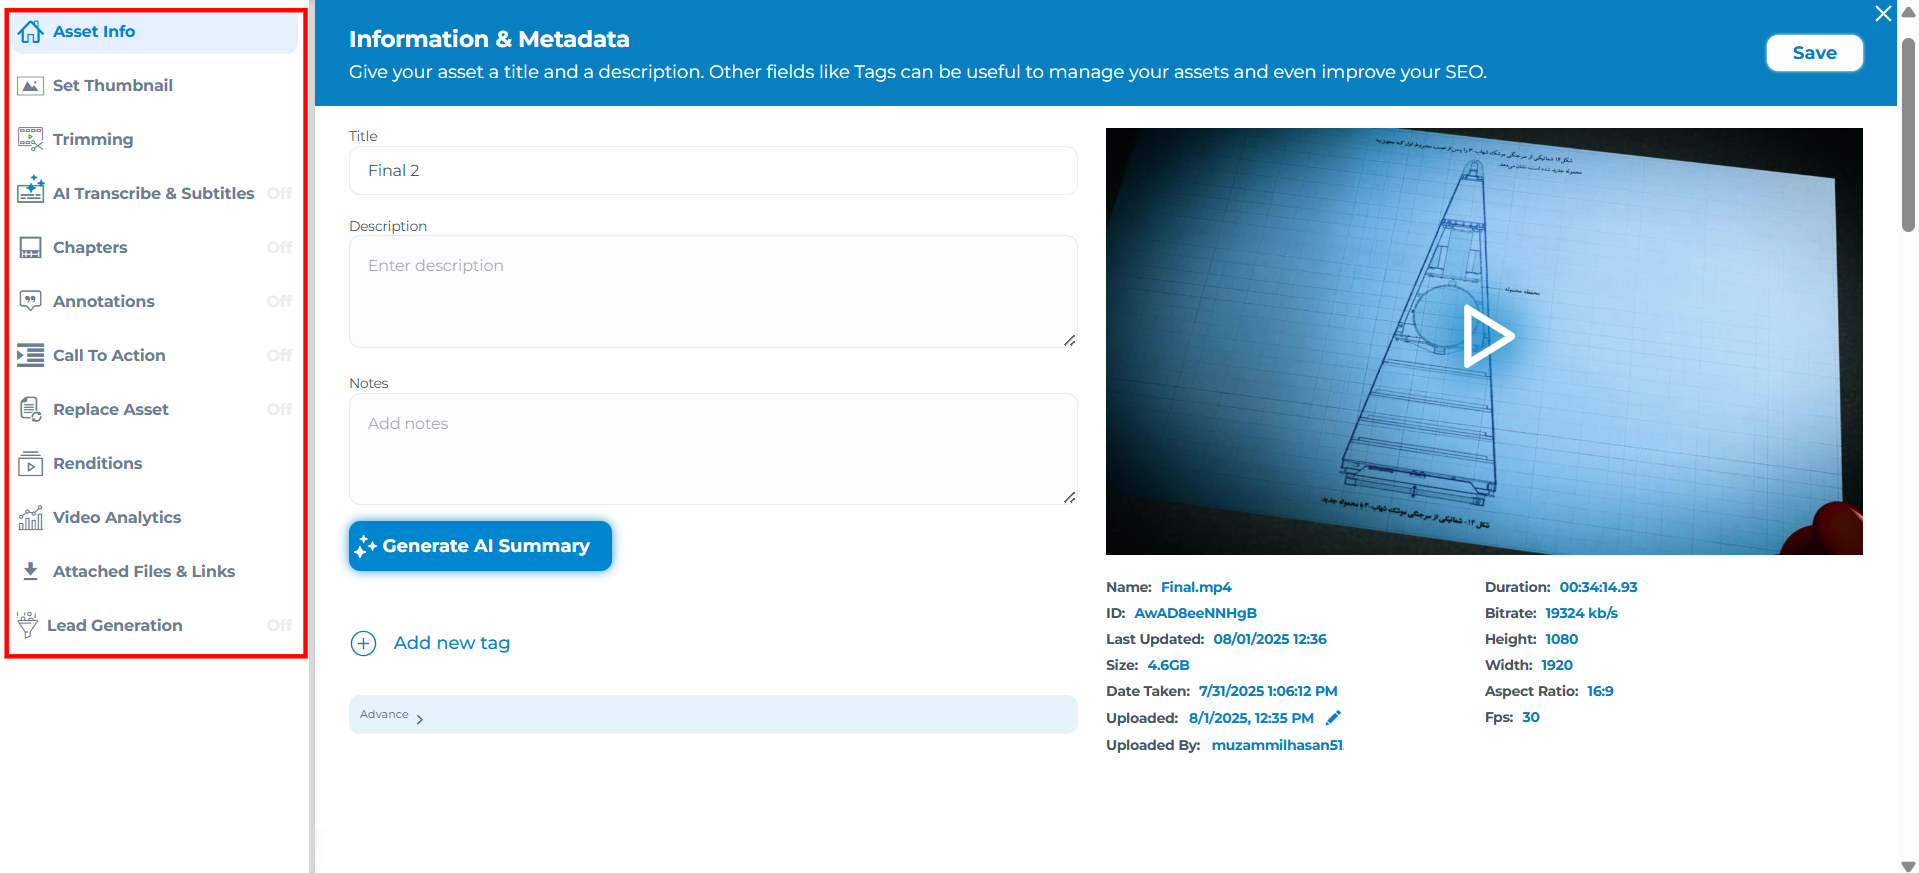
Built-in Modules
Cincopa provides a library of built-in modules to extend video functionality and editing capabilities. These modules can be activated by adding them to the load_modules array of the editor configuration.
| Modules | Description |
|---|---|
| info | Title your masterpiece. Add a description and other fields like tags to boost SEO. |
| share | Spread the buzz. Share your video to social or a local share page. |
| embed-info | Share everywhere. Embed your asset on your website. |
| Create dynamic emails. Embed your video thumbnail directly in your emails and track engagement. | |
| thumbnail | Set a custom thumbnail for your asset. |
| video-trim | Trim unwanted parts and create seamless videos. |
| partitioning-speaker | Add captions & transcripts. Manage, edit, and add multiple languages. |
| chapters | Add chapters for easy navigation. |
| annotations | Boost engagement with time-stamped annotations. |
| call-to-action | Drive action with a compelling call-to-action. |
| replace-asset | Replace an asset with a newer version. |
| video-renditions | Choose from multiple video renditions. |
| extras | Keep assets and related files in sync. |
| multiple-audio | Layer up with multiple audio tracks. |
| video-analytics | Unlock viewer insights. |
| downloads-asset | Attach files and links related to the asset. |
| lead-generation | Capture leads by adding forms. |
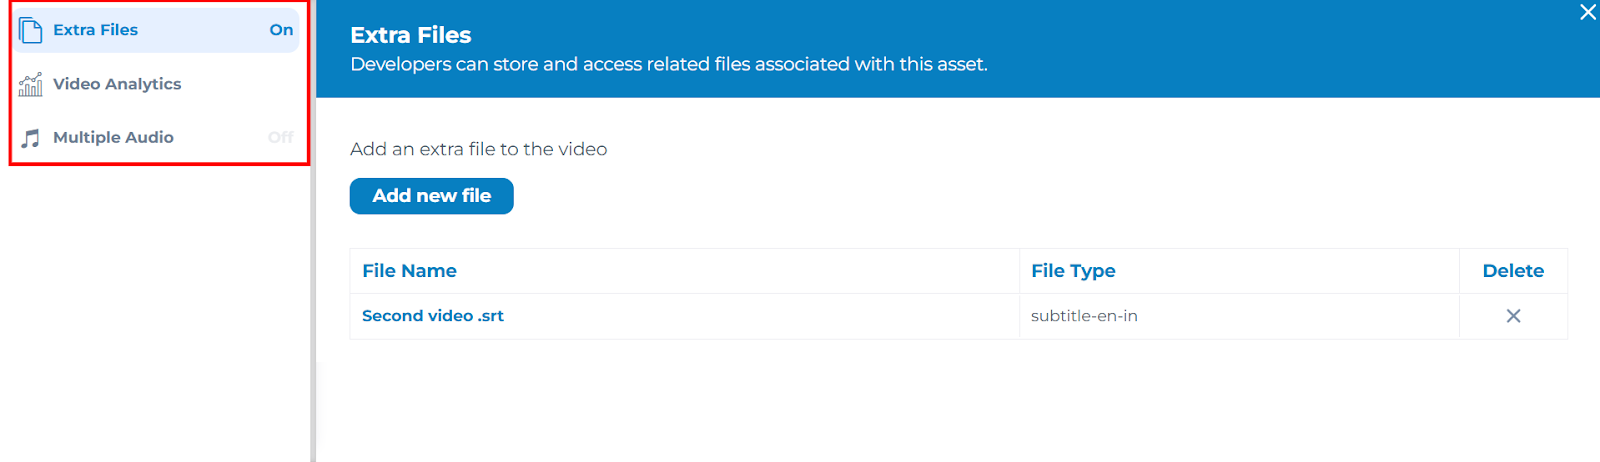
✅ Final Result
By adding any of these modules to the configuration, the editor interface will include the corresponding functionality during asset editing, allowing control over each video element.
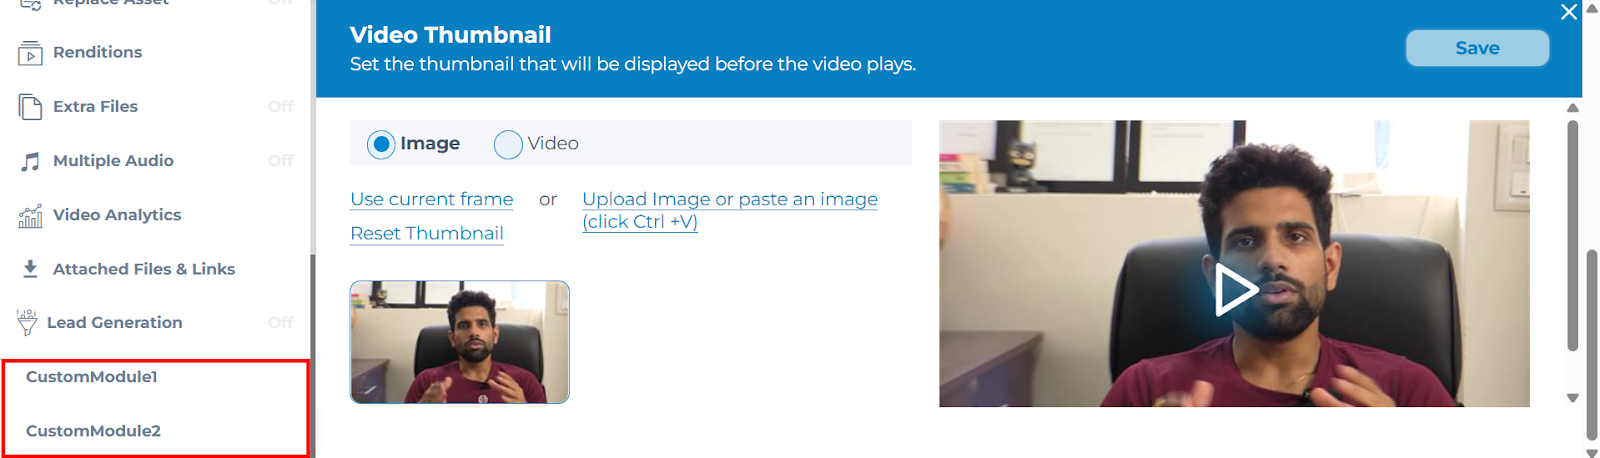
Adding Custom Modules
The Embedded Video Management Suite SDK also allows you to add custom modules to extend the editor’s functionality.
let editorConfig = {
    load_modules:[
        {name: "chapters"},
        {name: "thumbnail"},
        {name: "captions"},
        {name: "customModule1", js_path: "PATH_TO_MODULE1_JS", css_path: "PATH_TO_MODULE1_CSS"},
        {name: "customModule2", js_path: "PATH_TO_MODULE2_JS", css_path: "PATH_TO_MODULE2_CSS"}
    ],
    token: "TOKEN"
};
✅ Final Result
Once custom modules are defined and loaded, they appear alongside standard modules in the editor.